Tips for preparing before a photoshoot
Michael Light · January, 7th 2026 · Modeling, Photography, Shooting Tips
Pre-shooting tips for less post-production work
(…and ultimately better — and possibly even more — images)
There are a lot of things you need (or should) pay attention to during a photoshoot. Especially when you’re just starting out and don’t have much experience yet, this can quickly feel overwhelming. Whether you’re a model or a photographer, chances are you’re already thinking about the final images long before the shoot even begins.
Which outfit should you wear? What should the makeup look like? Which poses might work well? And so on…
Then it’s shoot time. The set is ready, everyone wants to deliver. And that’s exactly when it can happen: you’re so focused on posing, expressions, outfits, and the overall situation that small details slip through unnoticed. That’s completely normal — it happens to professionals all the time. Often, you only notice these things later, when you’re looking at the images on a large screen. And yet, it’s usually those very small details that make a big difference in the overall result.
The good news is this: small issues are much easier to prevent in advance than bigger problems. Instead of relying on the classic “We’ll fix it in post,” I generally recommend taking a second look before the shoot starts. Sure, a lot of things are easy to correct in Photoshop — and with AI, sometimes it really is just a few clicks. But in the end, it’s far more efficient to spend five extra minutes preparing than to add a few extra clicks to every single image. Those minutes add up quickly — and that’s not even considering how good (or natural) the final retouching result will actually be.
So let’s sum it up: the less retouching that’s needed, the more time there is for fine-tuning and additional images. And the cleaner an image already is before post-production, the more natural it will look in the end. Bad or overly visible retouching can ruin an image just as much as a flaw that stays simply because it’s too difficult to remove cleanly.
Before we get to my six tips, here’s probably the most important one right away: don’t forget to pack everything.
It sounds obvious — and everyone will say “Well, of course!” — and yet at every second or third shoot, something is missing. A piece of clothing, an accessory, part of a cosplay, or the spare camera battery. There’s a lot to think about, and if you’re running late or have to leave early in the morning, it’s easy to forget something. A simple checklist prepared in advance can be incredibly helpful here.
A classic example: shoes. I honestly can’t count how many shoots I’ve seen where the right shoes were missing. Suddenly you’re standing there with an orc wearing sneakers, or a model in an evening gown paired with boots — and you have to improvise (unless you’re only shooting close-ups). Tall grass or going barefoot often becomes the only solution. That’s why I strongly recommend using a checklist and ticking items off while packing.
Now let’s get to my six tips, which might add a few more items to that list.
My 6 Tips for preparing before a photoshoot
#6 – The Classic: The Hair Tie on the Wrist
For some reason, hair ties have an almost supernatural talent for showing up in photos — at least in one set during every other shoot.
It usually starts in the morning with “I’ll just put my hair up real quick, I’ll style it properly on location,” and suddenly the hair tie migrates from your hair to your wrist. Just as common: starting with a ponytail, and once someone suggests “Let’s try a few shots with the hair down,” that one hair tie — apparently engraved in Elvish — becomes part of the image.
Jokes aside: you’re standing on set, don’t know where to put it, and hair ties are easy to lose. Add to that the everyday habit of simply slipping it onto your wrist without thinking.
The easiest solution is to stash it somewhere safe as soon as you arrive. That way, you won’t forget about it later. The same goes — gently mentioned — for jewelry that doesn’t really fit the look. An elf in the forest, for example, instantly feels less authentic when wearing a smartwatch.
#5 – Fingernails: Small Details, Big Impact
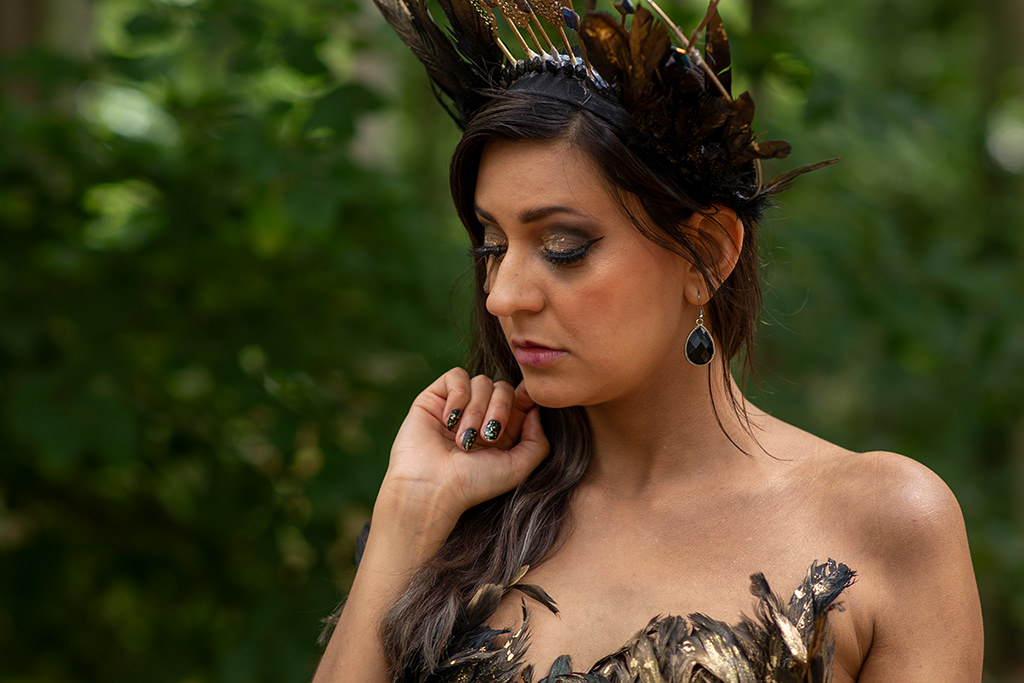
It’s impressive how noticeable hands become in photos — especially once they move toward the face. A beautiful pose, a subtle touch, a hand resting against the cheek — and suddenly the focus shifts away from the model’s eyes to chipped nail polish.
Half-grown gel nails might seem fine in person, but in close-ups they suddenly become impossible to ignore. And a color that matched your sneakers perfectly yesterday can easily turn into a distraction today.
That’s where retouching often turns into a small marathon: fixing each finger individually, cleaning up edges, smoothing color transitions, adjusting tones… all of that takes time.
That’s why it’s worth taking a conscious look at your nails beforehand. Freshly groomed, freshly painted, or completely natural — all of these work, as long as they’re consistent. If you’re unsure, just ask the photographer for their opinion, especially if changing things last minute isn’t really an option.
#4 – Flyaway Hair & Stubborn Strands
Even the most beautiful portrait can suddenly look like you just rolled out of bed because of a single stray hair.
Wigs, in particular, can be little rebels. While larger strands fighting gravity and wind are usually easy to spot, individual flyaway hairs can quickly become frustrating. Depending on hair color, they might barely be visible during the shoot — but anyone who has ever removed ten individual hairs in Photoshop crossing the eyes or lying over patterned fabric knows exactly what that means.
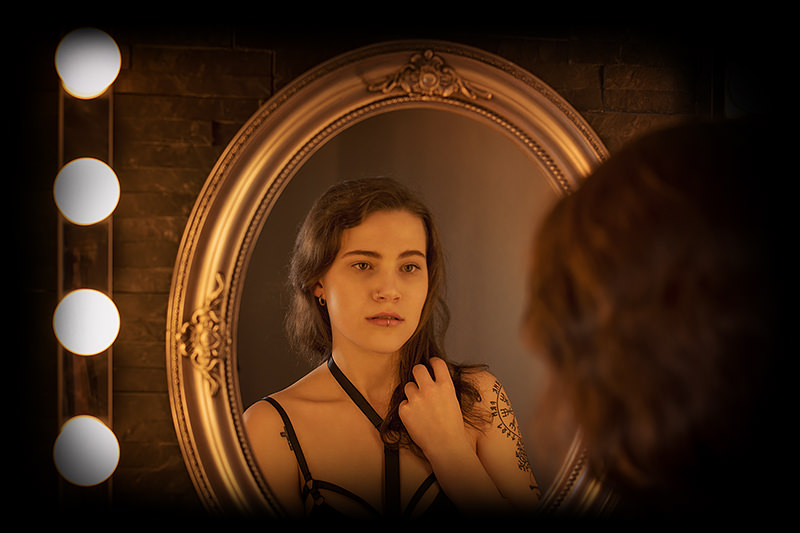
A brush or small comb in your bag — and maybe a bit of hairspray — can work wonders. A mirror is another item that’s often forgotten.
Depending on hairstyle, weather, or posing, hair is something that should be checked repeatedly throughout the shoot.
#3 – Clothing: Lint, Hair & Pressure Marks
As great as high-resolution cameras are, they don’t forgive anything. One last glance in the mirror at home — a few hairs here, a bit of lint there, some dandruff brushed off — seems harmless enough. But once you look at the photos, you can suddenly identify your pet’s breed or shoot a commercial for a very specific shampoo brand.
To avoid this, it’s usually a good idea to pack a lint roller. Even if you don’t end up needing it, it shows everyone involved that you came prepared and put some thought into things — and that’s always appreciated.
Wrinkles are another detail that’s often underestimated. Even the most beautiful cosplay loses a lot of its impact if the dress, coat, or cloak wasn’t ironed beforehand. Depending on the lighting, wrinkles can appear much more pronounced in photos than you’d expect.
One more classic bonus tip here: smartphones in pants pockets create unflattering bulges in photos. It’s best to put your phone wherever your hair tie already is before the shoot starts.
While most people think a lot about what they’re going to wear during the shoot, one thing is often overlooked: what they wear before the shoot. Depending on the outfit, this can have a big impact — especially if clothing is tight and leaves pressure marks. Whether it’s an airy cosplay with bra or waistband imprints, or an upcoming bikini shoot with sock marks, the phrase “Oh, we’ll need to wait a bit…” comes up far too often. That’s when you realize how long it actually takes for those marks to fade.
That’s why I recommend wearing loose clothing before a shoot. For more revealing shoots, a bathrobe is a great companion — it keeps you warm during breaks and doesn’t leave any marks.
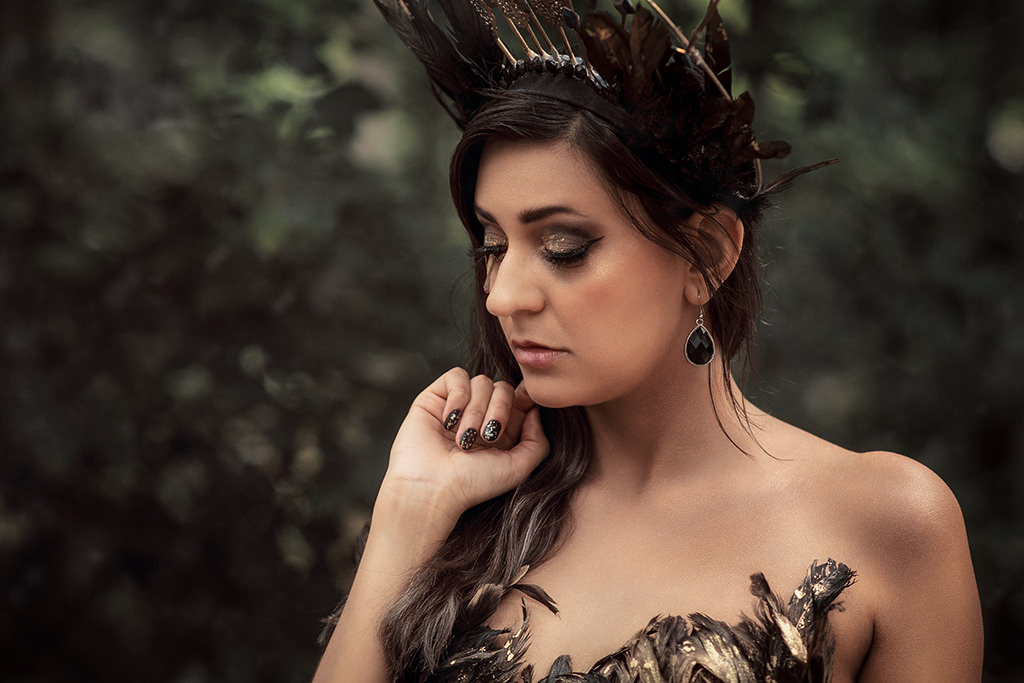
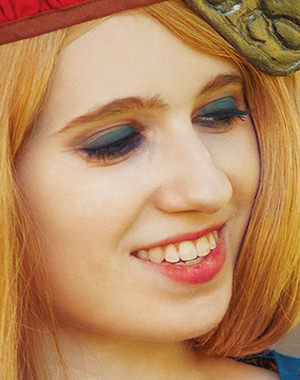
#2 – Colored Contact Lenses (Blessing & Curse)
Especially in the cosplay and fantasy scene, colored contact lenses are extremely popular — and for good reason. Some looks simply don’t work without them, and any general recommendation for or against lenses would be highly subjective.
That said, my advice on this topic is very clear: communication.
Make sure to talk about it before the shoot if colored or even white eyes are part of the plan. Personally, I’m not a fan of contact lenses at all — but bad retouching can look even worse.
Wait a second… weren’t these tips supposed to save time in retouching? Why recolor eyes in Photoshop and create extra work instead of using contact lenses? Isn’t that contradictory?
As always, the answer is a clear “yes and no.” 😉
It all depends on the final look you’re aiming for. Since I personally prefer a fairly natural style, contact lenses never look good to me — whether it’s visible patterns, overly artificial colors, or off-center pupils. I can’t get comfortable with any of that and would end up spending a lot of time fixing it. In those cases, digitally recoloring the eyes would actually save me a significant amount of time.
If someone doesn’t want to invest that effort and is happy with the quality of their lenses, then contact lenses are obviously the better option.
As so often, communication before the shoot is key. That also includes looking at examples of this type of editing beforehand to avoid unpleasant surprises later.
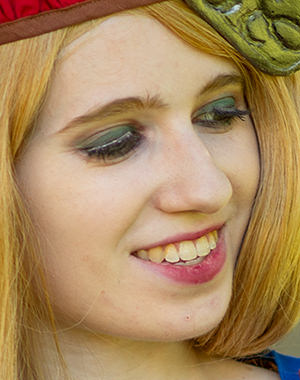
#1 – Fake Eyelashes
There are definitely high-quality fake lashes that look completely natural and don’t stand out even in close-ups. Unfortunately, those aren’t usually the ones that show up repeatedly in front of my camera.
What I’ve consistently seen over more than ten years of shooting are lashes that aren’t properly attached, whose ends come loose, sit unevenly, or simply look very artificial.
Trying to “save” something like that in retouching is time-consuming and sometimes nearly impossible. Here, too, I strongly recommend communicating before the shoot. Conversations like this say a lot about the other person’s expectations and goals — which I think is extremely important.
Personally, I would always prefer retouching natural lashes rather than having to live with the alternative. Often, a very minimal retouch is enough to create a noticeable improvement — without resorting to lash brushes or even AI. That, by the way, would be a topic for an entire blog post on its own.
So there you have it — my six tips, which I hope will help you in one way or another at your next shoot. Did any of these tips help you? Do you have additional tips from your own experience? Feel free to leave a comment or send me a message on social media.
Still not enough? Here’s one more thing:
A few tiny extras that are often forgotten
Besides the six main points, there are a few tiny details that are almost invisible — until you compare images side by side.
A small amount of hand cream can go a long way in softening dry or rough skin. Hands appear in photos more often than you might think, and even a little can visually smooth them without covering anything up.
Lip balm works in a similar way. Especially in portraits or beauty shots, every crack and dry spot becomes visible. A quick application makes lips look softer, fresher, and more natural.
A bit of powder can work wonders as well — especially on hot days or if you tend to have slightly shiny skin. It’s not about making the face completely matte, just about using a light touch so the forehead, nose, and cheeks don’t look like they have their own lighting setup.